
Initialize Denos
The gateway is installed, the antenna is mounted high, and you have verified that the gateway is reaching the internet (or at least powered on if the network has not been configured yet). Before we install the Deno sensors in the field, we are going to make sure they are communicating with the gateway. If Deno sensors were put in the sun before installing the gateway, they should be charged up by now and ready for the communication check.
If not, no worries, the charging instructions are below.
Charge Deno Sensors
The Deno sensors are self-powered but will not operate fresh out of the box. The Denos must be charged to complete installation and verification.
There are two charging options:
-
Place in direct, moderate sunlight for 30 minutes (will take more or less time depending on how sunny it is)
-
Charge via USB cable from any power source.
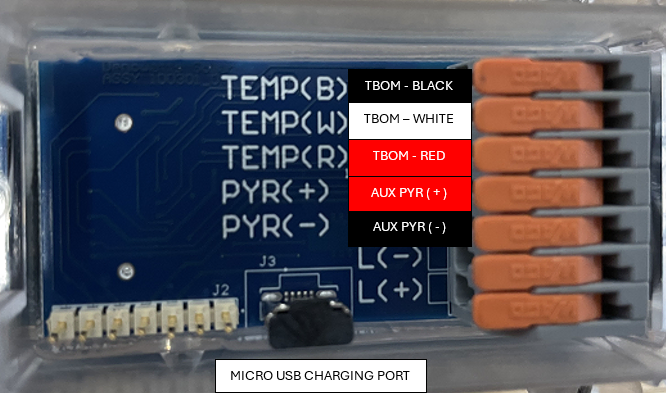
- locate the USB port on the back of the Deno, behind the clear removable casing
Communication Check
There is no “ON” switch for the Deno sensors. When suitably powered, they will immediately begin reporting to the nearest denowatts gateway. To immediately see if a Deno sensor is powered, swipe the reset switch (under the lower pyranometer) using a magnet and observe the S-O-L LEDs momentarily flash. This resets the Deno sensor and transmits data to the gateway. If they do not flash, the Deno is not yet charged.
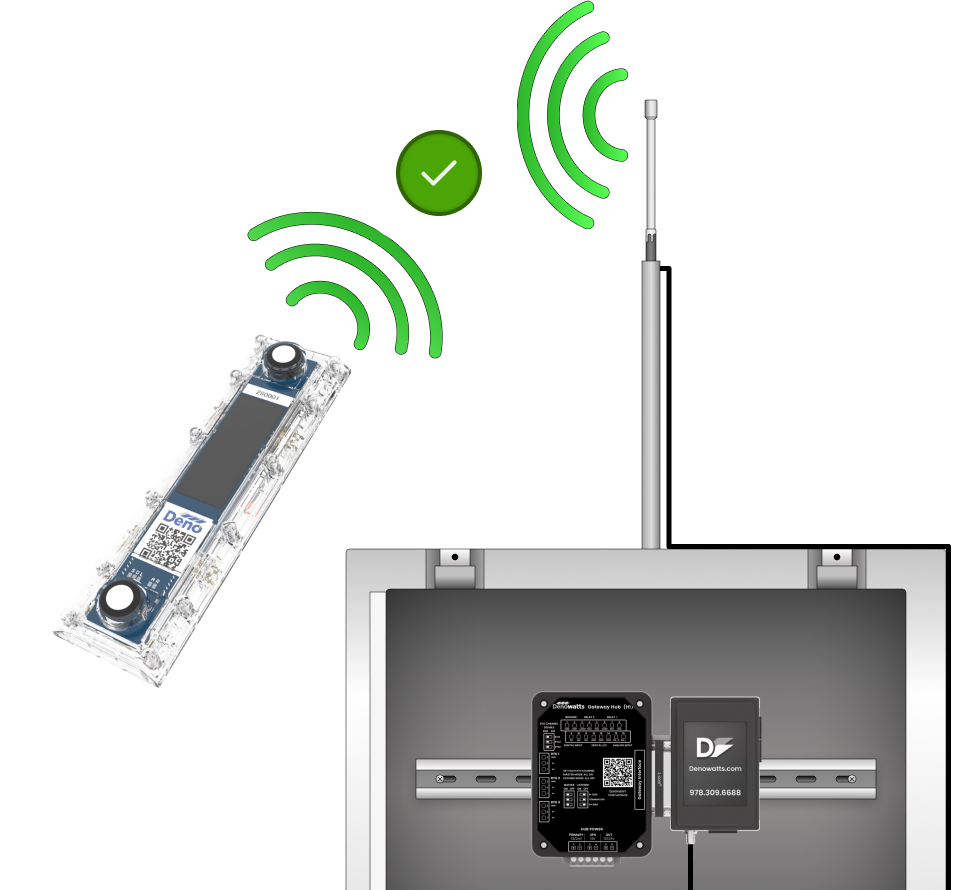
With the Deno sensors within 20 feet of the Gateway, view the Mobile App or check the Gateway LCD to view the Deno sensor data by serial number. When placed in direct sunlight, the Deno sensors will report records every minute.
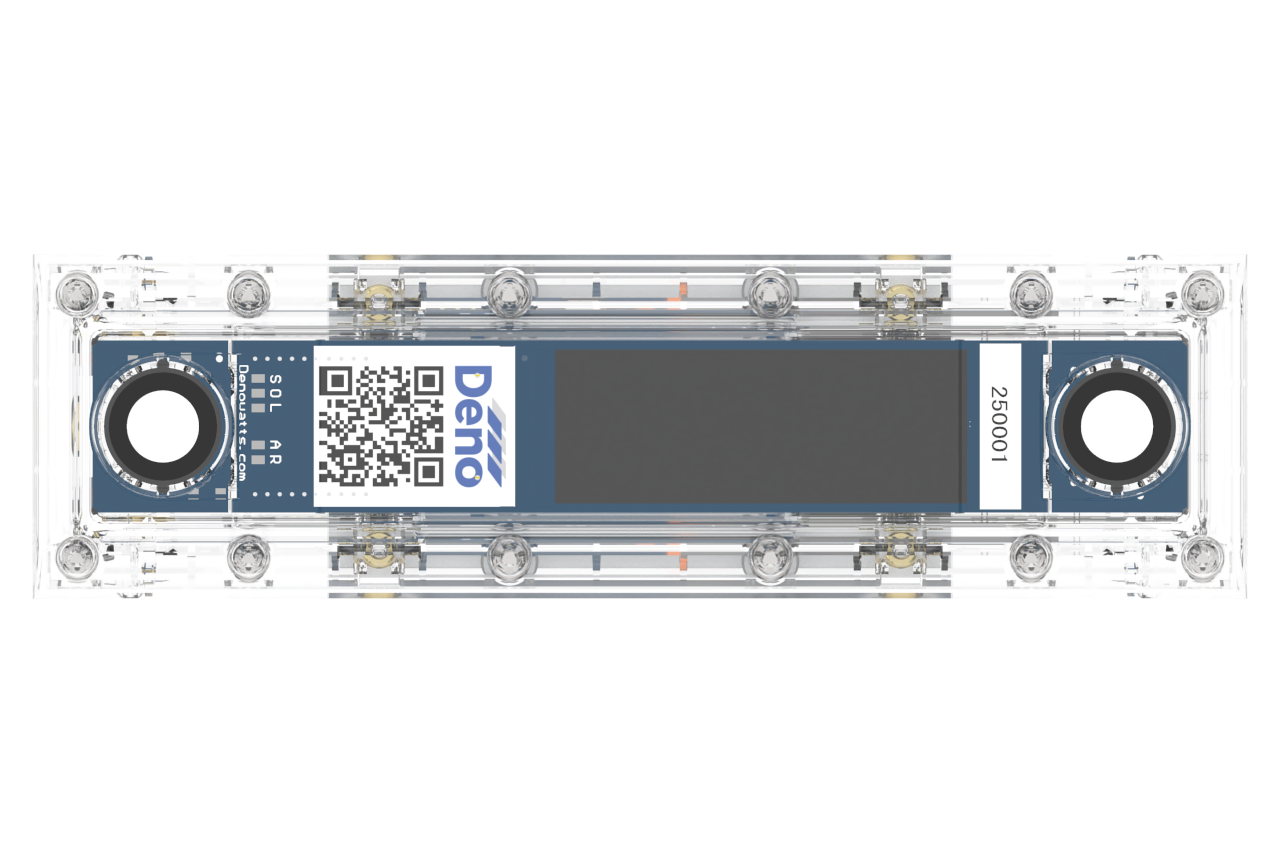
Data timestamps will appear in the app (if connected to the internet) and on the gateway LCD, along with the Deno serial number, which is located next to the right pyranometer below "250001".
via LCD Screen
This section will instruct you on how to check whether a Deno sensor is communicating with the Denowatts gateway using only the gateway's LCD touchscreen interface. Use this option if the gateway is not connected to the internet or the mobile app is not working.
Gateway
-
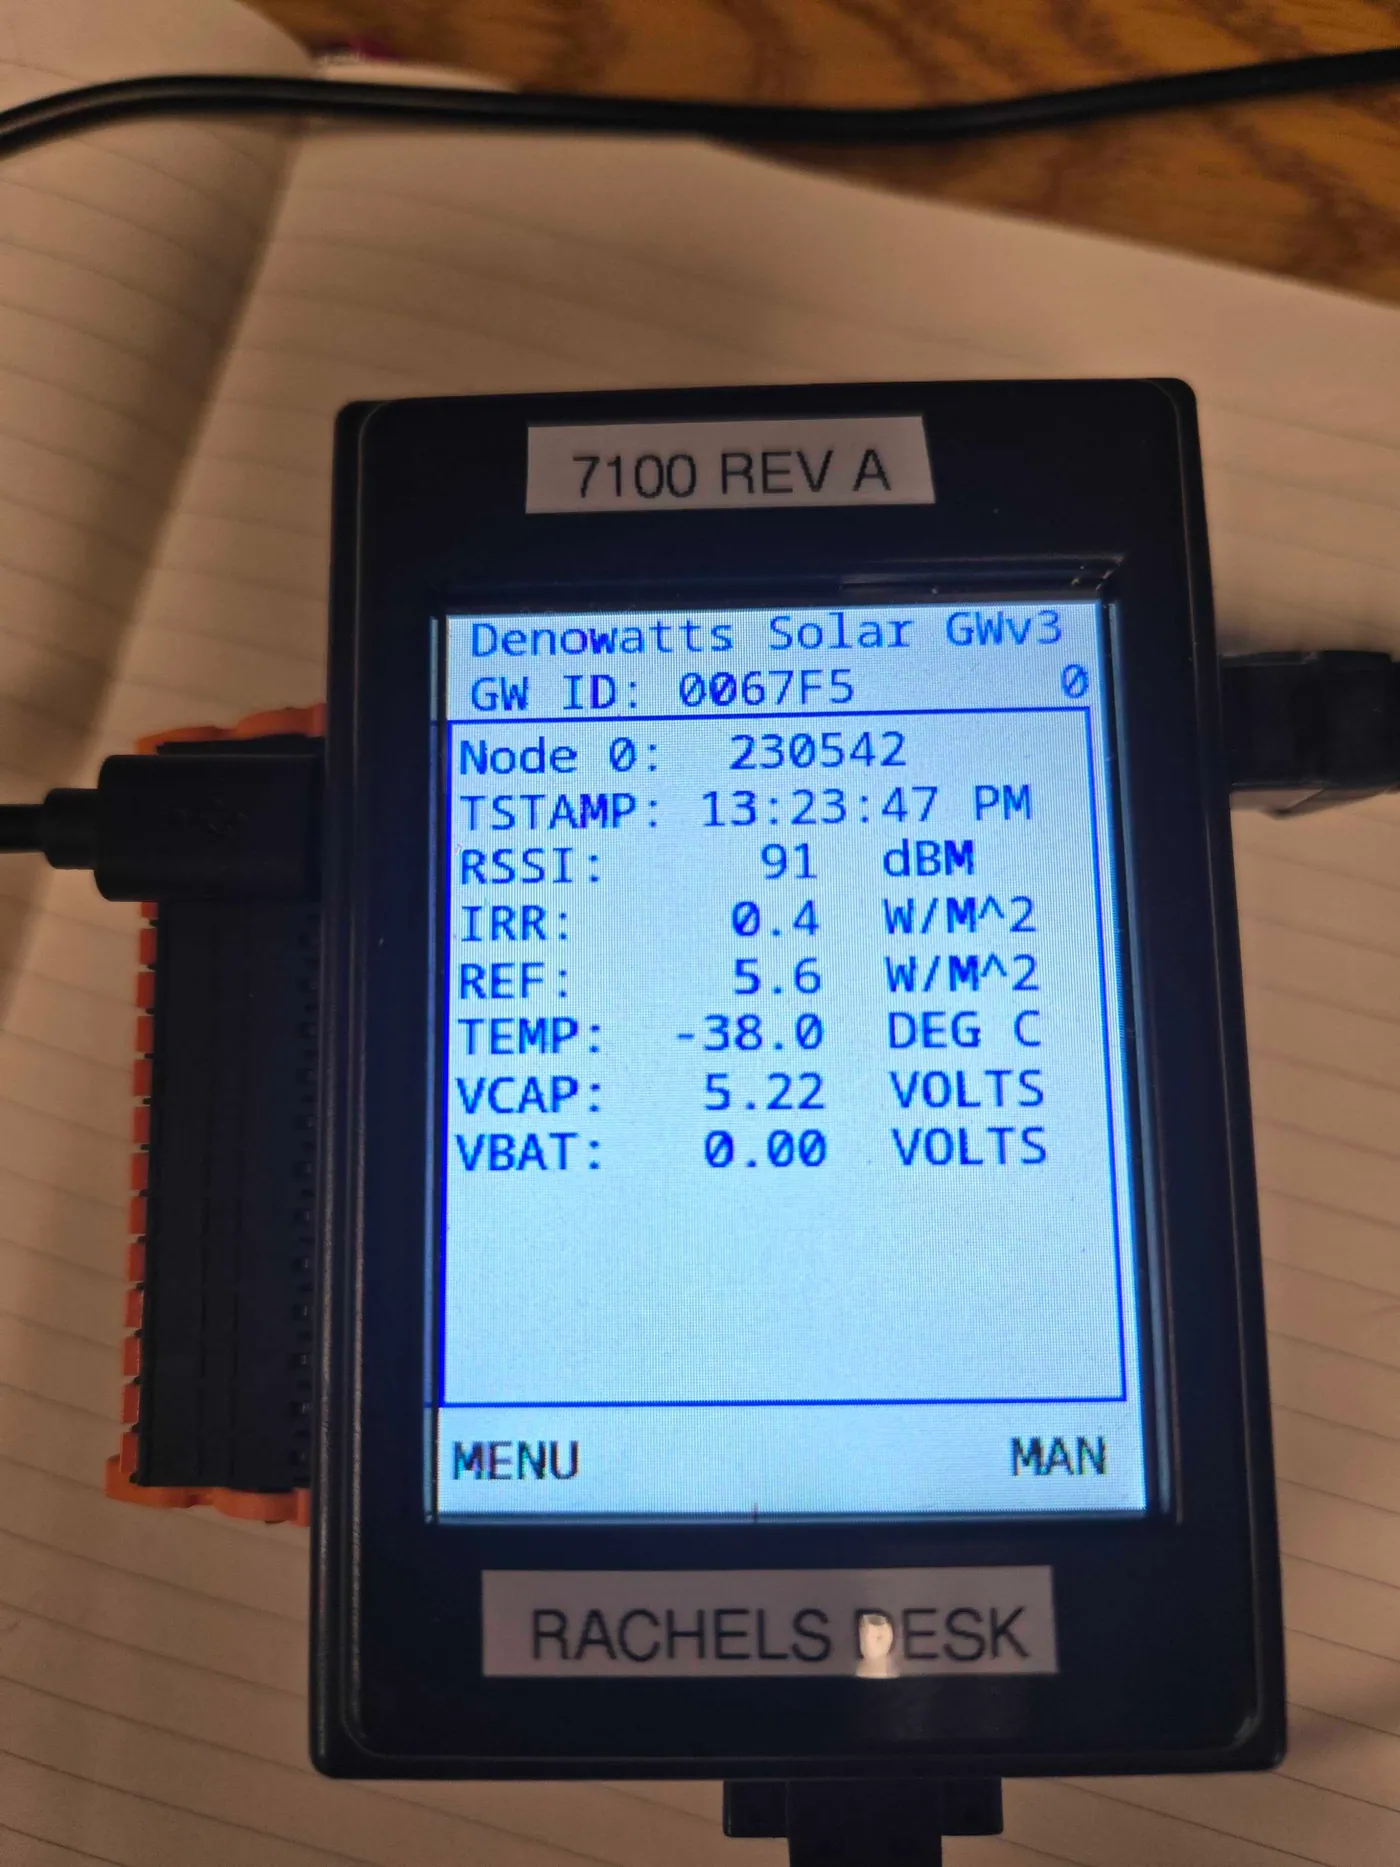
The Gateway home page will show each Deno sensor checking as a node.
-
5.2v of Vcap indicates a full charge.
-
40dbm indicates the strongest radio strength
-
-38 C indicates there is no back-of-module temp sensor connected
-
-
Then scroll through the deno sensors and ensure they are checking in.
via Mobile App
-
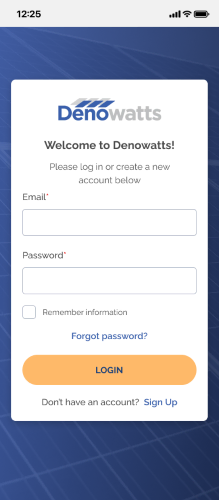
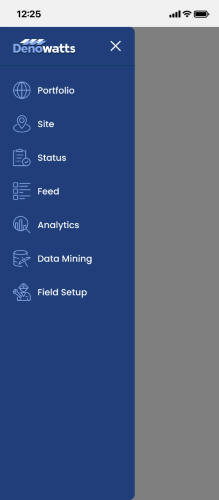
Sign on to the app, go to the Field Setup page.
 >>
>> 
-
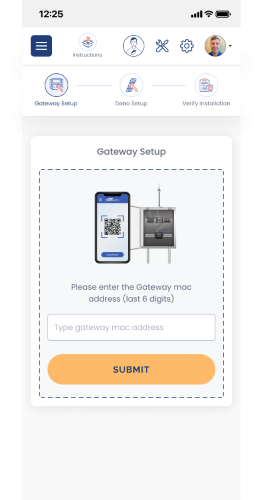
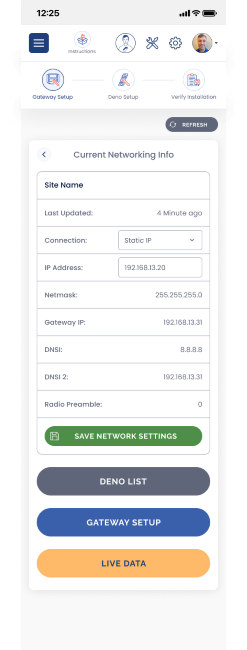
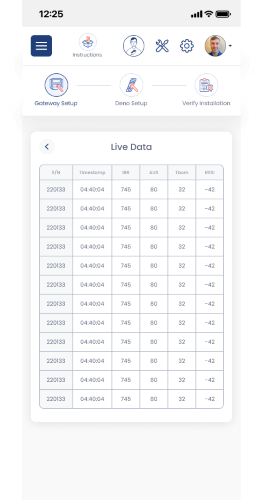
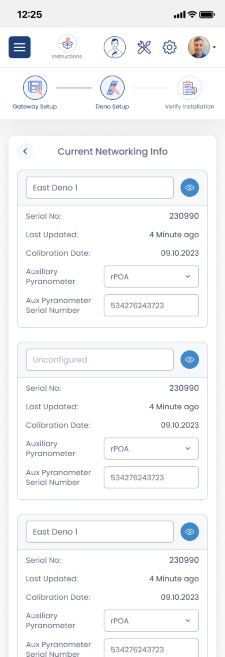
Enter the last six characters of the Gateway MAC address and then select Live Data or Deno List.
 >>
>> 
-
Check the Deno List and/or Live data, and ensure all Deno sensors from the kit are checking in to the gateway.
 >>
>> 
Launch Mode
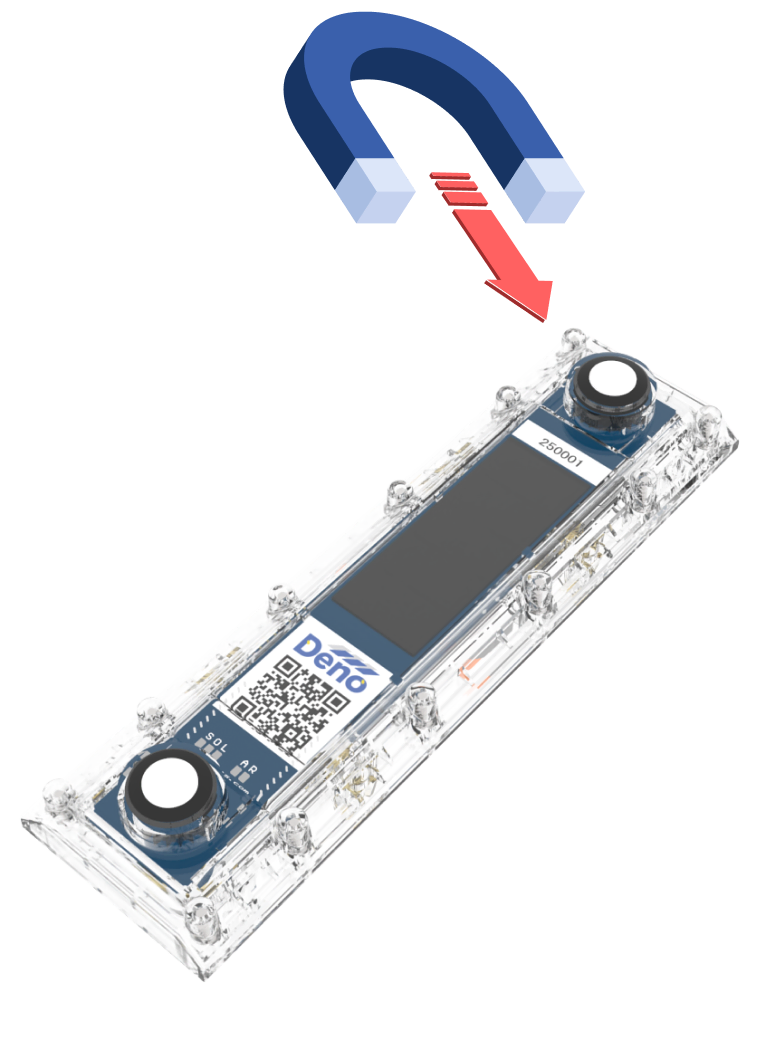
If it's dark out or the sensors are having trouble automatically connecting to the gateway, the Deno sensors may be placed into Launch Mode using a magnet. Hold a strong magnet over the top of the Deno sensor, as shown below, until all S-O-L LEDs illuminate green. This indicates that the Deno is in Launch Mode. Launch mode forces radio transmissions to the gateway at a much higher pace.
Every 15 seconds, the A-R LEDs will flash to indicate that a record has been reported. If all S-O-L lights remain illuminated, the transmission is a success. If S-O-L lights disappear, the transmissions are not reaching the Gateway, and troubleshooting steps are required. The Launch Mode will automatically stop after 10 minutes.
Use the magnet over the top pyranometer to initiate LAUNCH MODE
Please contact Denowatts at any point while reading this guide with questions, comments, or concerns:
- By Phone: 978.309.6688 x1
- Email: support@denowatts.com
- Check out the Denowatts Support Center for more articles that dive deeper into our methodology and software.
Last updated on