
3. Network
The Denowatts gateway requires internet access to be fully operational
Once plugged into an operational local area network (LAN), the Denowatts gateway is programmed to come online via DHCP. This means that it will assign itself a LAN IP address in the DHCP range of the network.
If there are no firewall restrictions, the gateway will automatically connect to the Denowatts servers, and Denowatts will have remote access. Denowatts will then be able to commission the site and set a static LAN IP address remotely so others can access the sensor data. We will cover the gateway verification process on the next page.
Setting a Static LAN IP Address
Typically, a static LAN IP address must be set to enable communication with the internet or for 3rd party data acquisition. The owner defines the desired LAN IP address and additional network settings. Contact the network administrator if this piece of information is not yet known.
In some cases, the network settings are known before shipment, and Denowatts can pre-program a static LAN IP address. If you are in the design phase of the project and know what the network settings are going to be, please contact Denowatts support@denowatts.com with the following information:
- Desired static LAN IP of Denowatts device
- Subnet Mask (e.g., 255.255.255.0)
- Networks gateway IP
- DNS1
- DNS2
If you are unsure what the static LAN IP should be, you can still check to see if the gateway is connected to the LAN by using:
- The Ethernet status lights on the gateway's Ethernet port are showing: Solid Green (link established), and blinking orange (data transmissions).
- The gateway interface is used to navigate to the network settings page and check that a DHCP address was assigned.
If neither of these options works, contact your network administrator. This could be a potential issue with the LAN, or the LAN might not be set up quite yet.
To set via the Gateway Interface
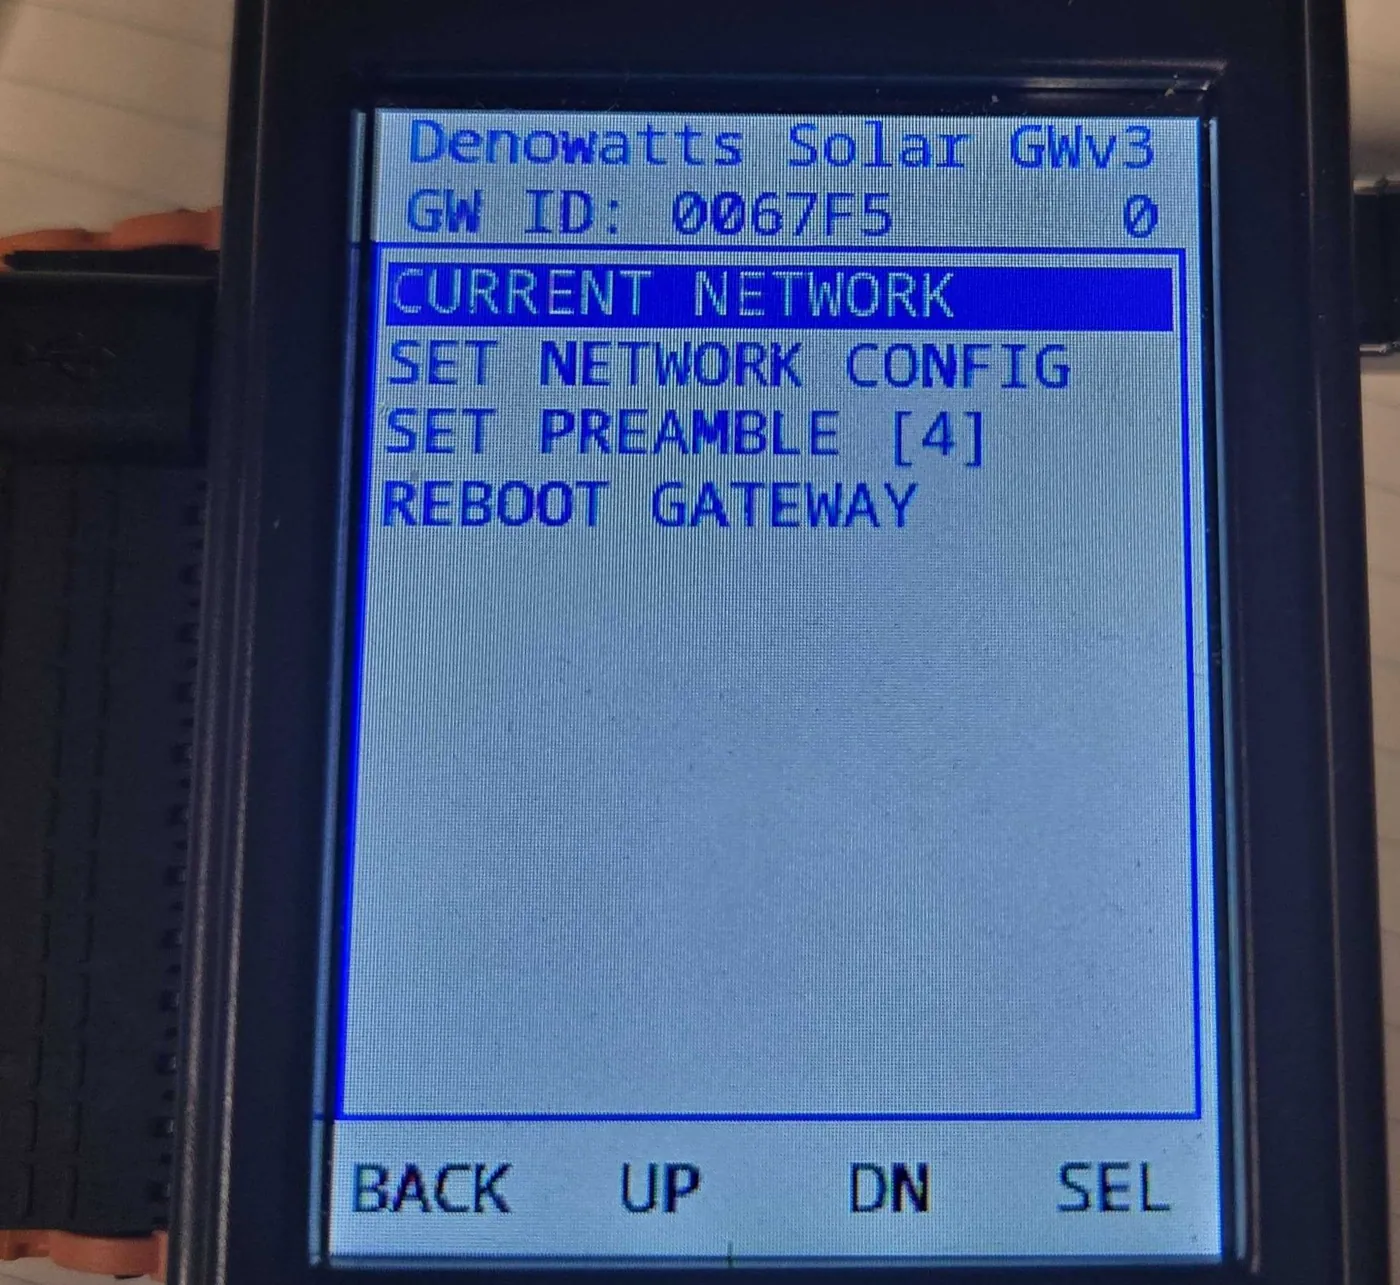
If the network doesn't allow the Gateway to connect via its default DHCP settings, please use the LCD touchscreen interface to set the local network address. To set via the gateway interface, follow the prompts on the device's touchpad.
-
Menu > Set Network Config > Use the up and down arrows to navigate the list and set the desired inputs.
-
Hit the Save button after each line of information is configured.
-
Reboot the gateway after all changes have been saved, and verify that network settings have been saved.
To set via the Mobile App
The mobile application will only connect to the gateway if the gateway is already connected the internet.
To set the IP via the mobile app, follow these instructions:
-
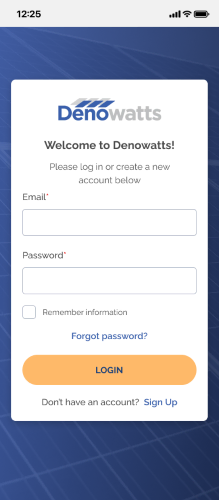
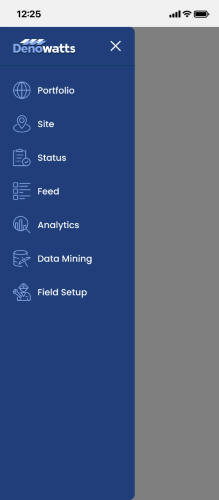
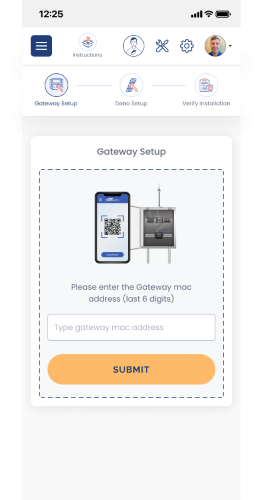
Sign on to the app, click the "Field Setup" menu option, and you are brought to a page that says "Gateway Setup."
 >>
>> 
-
Enter Gateway MAC address (6 digits, found in the upper middle of the LCD screen)
-
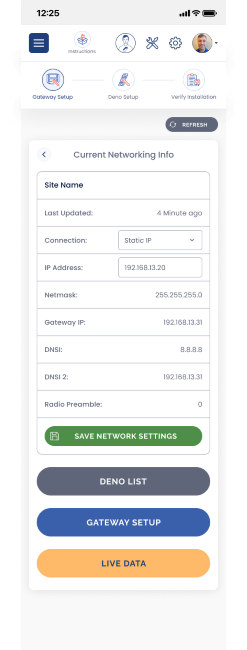
On the Networking Info page, enter the desired static LAN IP address, then click Save.
Firewalls
Sometimes the gateway will not connect to the internet automatically, and additional work is required to get it access even after setting a static LAN IP address. Usually, when this happens, specific firewall rules are in place that prevent Denowatts' gateway network traffic from reaching Denowatts' Servers.
Look out for firewalls in the following scenarios
- Larger sites with specific NERC cybersecurity requirements.
- Systems that are connected via the facilities/building local networks.
Whitelisting
This problem has a straightforward solution: the network administrator must allow inbound and outbound traffic to the Denowatts device. If this is the case, please request our current whitelisting requirements from support@denowatts.com, and then send them to your network admin. Denowatts is happy to assist with this process.
Please contact Denowatts at any point while reading this guide with questions, comments, or concerns:
- By Phone: 978.309.6688 x1
- Email: support@denowatts.com
- Check out the Denowatts Support Center for more articles that dive deeper into our methodology and software.
Last updated on